Growing Oyster Mushrooms in a Shaded Apartment Balcony Box
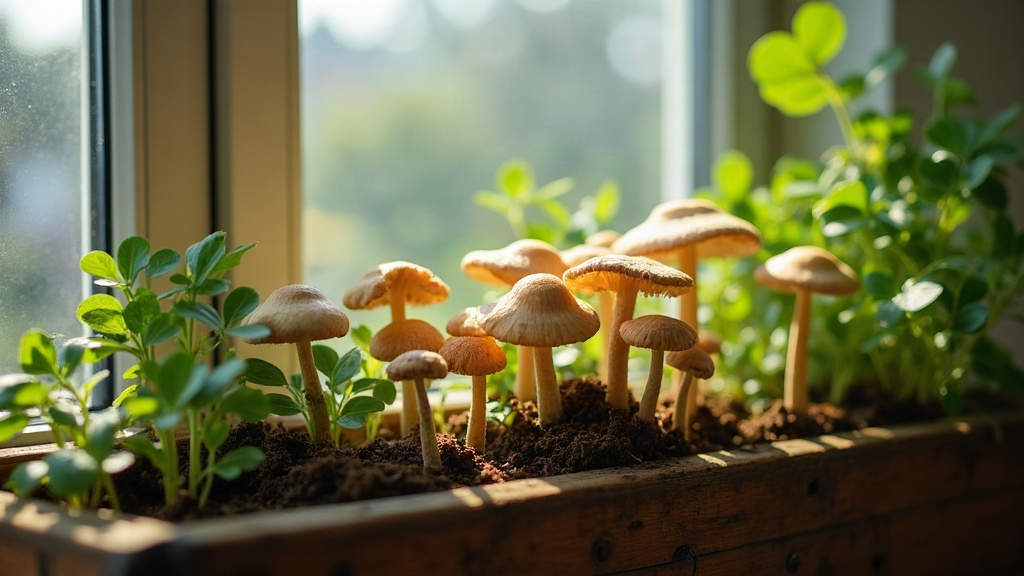
Growing Oyster Mushrooms in a Shaded Balcony Storage Box
Got a balcony that never sees direct sun? Don’t write it off. Growing oyster mushrooms in a shaded apartment balcony storage box might be one of the most satisfying projects you can try if you’re tired of watching herbs wilt in that gloomy corner. Unlike tomatoes or basil, oyster mushrooms actually want shade, cool air, and dampness, which is exactly what a lot of north-facing or covered balconies already offer for free. Grab a plastic storage box, a bag of substrate, and a spray bottle, and you’re looking at fresh mushrooms every few weeks. No sun required, not even a little.
Why Oyster Mushrooms Are Perfect for Shaded Balconies
Here’s the thing most people miss: mushrooms aren’t plants. They’re fungi, so photosynthesis isn’t part of the equation at all. That single fact changes everything about where you can grow them. Oyster mushrooms (Pleurotus ostreatus) specifically do well in:
- Indirect or no light (just enough ambient light to trigger fruiting)
- Temperatures between 10–24°C (50–75°F)
- High humidity (80–95%)
- Still, slightly fresh air, nothing like a strong direct draft
A shaded balcony, especially one tucked under a roof overhang or boxed in by railings, basically recreates the forest floor and rotting log environment oysters grow on in the wild. You’re not fighting nature here, you’re borrowing it.
What You’ll Need
- A clean plastic storage box (18–40 liters) with a lid
- A spray bottle for misting
- A ready-made oyster mushroom grow bag, or a substrate of straw/coffee grounds inoculated with spawn
- A utility knife to cut air slits or a fruiting window
- A thermometer/hygrometer (not essential, but it saves you guesswork)
Step-by-Step: Setting Up Your Grow Box
1. Prepare the Box
Cut 6 to 10 small slits (1–2 cm) along the sides for airflow, then cut a bigger window, roughly 10x15 cm, in the lid or on one side so the mushrooms have somewhere to push through. Cover that window loosely with a damp cloth or micropore tape. This keeps humidity trapped while still letting fresh air move through, which the mushrooms need more than you’d think.
2. Add the Substrate
Going with a pre-inoculated grow bag is by far the easiest route if you’re new to this: just cut an X-shaped slit into the bag and set it in the box. Done. If you’d rather build your own substrate, pasteurize straw or spent coffee grounds, mix in the spawn, and pack it loosely into a perforated bag before placing it inside the box.
3. Position the Box
Find the shadiest, most sheltered spot on your balcony, against a wall, tucked under a table, beneath an overhang, wherever the sun basically never reaches. Steer clear of anywhere that gets direct afternoon sun, catches strong wind, or swings above 28°C (82°F). A sudden heat spike can stress the whole batch.
4. Mist Daily
Spray the inside walls of the box, not the substrate directly, once or twice a day to keep humidity up. If you live somewhere dry, say a hot Mediterranean summer, you might need to bump that up to three times a day.
5. Wait for Pinning
Somewhere between day 5 and day 14, tiny mushroom “pins” will start poking out near the slits. This is genuinely the fun part. But resist checking every hour: opening the box too often throws off the temperature and humidity balance and can stall the whole flush.
6. Harvest at the Right Time
The sweet spot for harvesting is when the caps have flattened out but before the edges start curling upward and releasing spores (once that happens, flavor and texture go downhill fast). Twist the cluster gently from the base, or slice it off cleanly with a knife. One grow bag will usually give you 2 to 3 flushes over 3 to 4 weeks, so don’t toss it after the first harvest.
Common Problems and Fixes
- No pins forming: Usually a sign of poor air exchange or not enough of a light cue. Try widening the fruiting window a bit.
- Mushrooms drying out and cracking: Mist more often, and try lining the bottom of the box with a damp towel for extra buffer humidity.
- Mold showing up (green or black): This is almost always contamination or standing water sitting somewhere it shouldn’t. Pull the affected substrate out immediately and boost airflow before it spreads.
- Growth crawling in cold weather: Below 10°C, oyster mushrooms practically stop. Shift the box to a still-shaded but slightly warmer spot, near a glass door works well.
Choosing the Right Oyster Variety for Balcony Conditions
- Blue oyster – handles the cold better, a solid pick for autumn and winter balconies
- Pink oyster – wants warmth (20–30°C), so save it for spring and summer
- Grey/white oyster – the most forgiving option, works across a wide temperature range, great if this is your first attempt
How Much Space Do You Actually Need?
Less than you’d guess. A single 30-liter storage box comfortably fits one 2–5 kg grow bag and can produce anywhere from 500g to 1.5kg of mushrooms per flush. If you’ve only got a 1m² shaded corner, that’s genuinely enough room to run two or three boxes on rotation, staggering them so you’re pulling in a near-constant harvest instead of one big batch followed by nothing.
Conclusion
A shaded apartment balcony usually gets written off as useless growing space. Turns out it’s close to ideal for an oyster mushroom micro-farm. Grab a repurposed storage box, keep up a simple misting routine, bring a bit of patience, and that dead corner of your balcony turns into a steady supply of fresh, homegrown mushrooms. Sunlight not included, and not needed.