Beginner Setup for Growing Radishes in Recycled Milk-Crate Planters
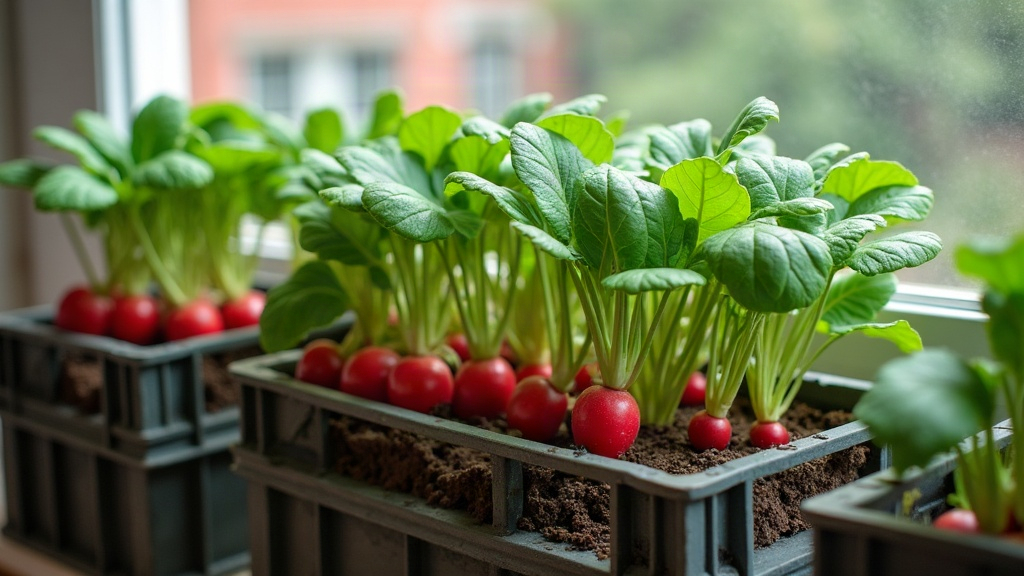
Growing radishes in a recycled milk crate is one of the cheapest ways to get started with vegetable gardening. No fancy containers, no big budget. Grab a sturdy plastic crate, a liner, decent soil, and a sunny spot, and you’ll be pulling up crunchy radishes in as little as three to four weeks. Here’s exactly how to set it up, step by step.
Why Milk Crates Work So Well for Radishes
Milk crates are everywhere, usually free or close to it, and they’re tough enough to last for years. The slotted sides also happen to be perfect drainage, which is something you’d normally have to drill into a regular pot yourself. Radishes are shallow-rooted and grow fast, so they don’t need much depth. A standard crate (roughly 13 x 13 x 11 inches) fits that profile almost exactly.
Benefits of using a milk crate planter:
- Free drainage - slotted sides keep roots from sitting in water
- Lightweight and portable - drag it across the patio to chase the sun if you need to
- Stackable storage when it’s not planted
- Eco-friendly - you’re reusing plastic instead of buying another pot
What You’ll Need
- 1 plastic milk crate (scrubbed down with soap and water first)
- A liner: burlap sack, landscape fabric, or a cut-open feed bag
- Potting mix, or a compost-and-garden-soil blend (skip anything heavy with clay)
- Radish seeds (Cherry Belle and French Breakfast are solid picks for a first try)
- A watering can with a soft rose spray, not a harsh jet
Step-by-Step Setup
1. Line the Crate
Line the inside with burlap, coconut coir matting, or landscape fabric. This stops soil from sifting through the slots but still lets water escape. Skip solid plastic liners entirely. Radish roots want airflow, and trapping moisture against them is a fast track to rot.
2. Fill with Loose, Fertile Soil
Fill the crate almost to the top with a loose mix that drains well. Compacted or rocky soil is the enemy here, it’s the reason you sometimes pull up a radish shaped like a twisted little gnome instead of a round bulb. A reliable ratio:
- 60% quality potting soil
- 30% compost
- 10% coarse sand or perlite
That blend gives radishes the loose texture they need to swell into neat, round bulbs instead of forking around obstacles.
3. Sow the Seeds
Drop seeds about ½ inch deep, spaced 1-2 inches apart, in rows across the surface. Radishes hate being transplanted, so sow them directly where they’ll grow, don’t start them elsewhere and move them later. Thinning matters too: once seedlings hit about an inch tall, pull the weaker ones so each remaining plant gets roughly 2 inches of breathing room.
4. Water Consistently
Radishes want steady moisture. Let the soil dry out too much and they turn woody or sharply spicy, almost unpleasant to eat. Water lightly every day or every other day, aiming for damp, never waterlogged. Since milk crates drain quickly, check the soil daily, especially once summer heat kicks in.
5. Find the Right Light
Pick a spot with at least 6 hours of direct sun. If you’re somewhere brutally hot, a bit of afternoon shade helps prevent bolting, which is when the plant panics and rushes to seed instead of forming a good root.
Common Beginner Mistakes to Avoid
- Overcrowding: cram too many seeds into one crate and you’ll end up with a tangle of small, misshapen radishes.
- Inconsistent watering: one of the main causes of cracked skins and that overly sharp, peppery bite.
- Using heavy garden soil: it compacts fast in a container and roots just can’t push through it.
- Skipping the liner: forget it, and every watering session turns into a mini mudslide out the slots.
When to Harvest
Most varieties are ready somewhere between 21 and 30 days. Brush a little soil away from the top of a root to check it; if it’s around ¾ to 1 inch across, it’s ready to come out. Don’t leave them in the ground hoping they’ll get bigger. Past their prime, radishes turn woody and far too pungent to enjoy.
Reusing Your Milk Crate Setup
Once you’ve pulled the harvest, mix in a little fresh compost and sow another round. Because radishes grow so fast, a single crate can easily produce several batches in one season. Plenty of gardeners replant every 2-3 weeks for a steady, rolling supply instead of one big harvest all at once.
Conclusion
A recycled milk crate turns out to be a near-ideal first container for radishes: it costs nothing, drains itself, and matches the shallow root system radishes need almost perfectly. Give it loose soil, regular watering, and a sunny corner, and you’ll have a quick, satisfying harvest in under a month, with the same crate ready to go again for the next round.